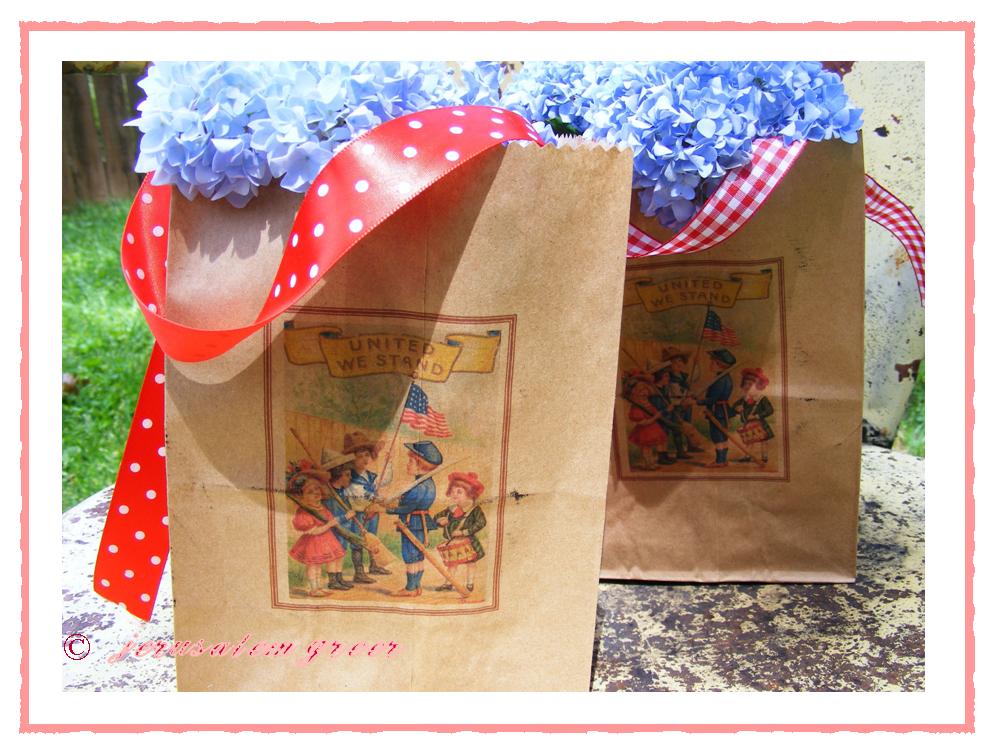
Surprise! It’s a A Jolly Red,White and Blue Craft just for you!
I went back to work today and I can already tell it is going to take me a few days to get back into the groove and to adjust. So for today’s post I pulled something out from the archives – a little 4th of July craft that you can pull off last minute and with almost no impact to the old wallet. (Pardon the image quality – these pics are from the stoneage of digital cameras!)
Here is what you will need:
*Brown (or White) Paper Bags
*Printer
*Single Hole Punch
*Satin or Grosgrain Ribbon (5/8 or 7/8 width)
*Scissors
*Pinking Sheers
*Glue (optional)
This craft involves printing on paper bags. If your printer is not friendly and does not want to pull or print your paper bag through, don’t worry, you can still create a lovely paper bag surprise.
STEP 1
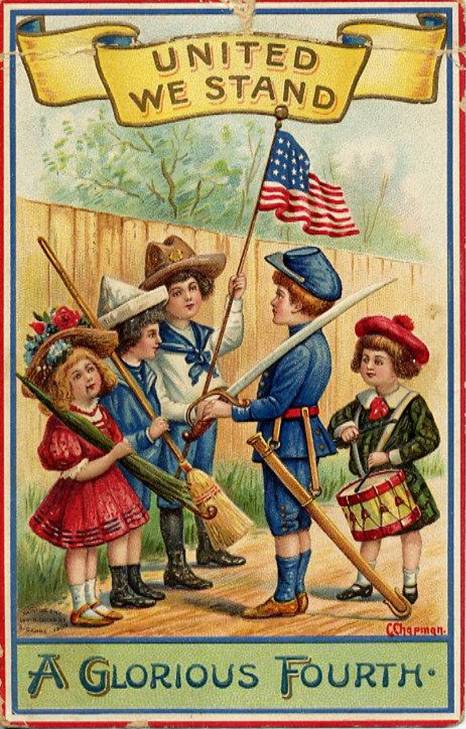
*Decide on a image for printing.
Here is the image I used on my paper bags. Feel free to use any vintage image you have on your computer or that I have provided the past few days.
If you would like to use this picture, I have a PDF with this image lined up for printing (as I did it on my printer) HERE

STEP 2
*Printing
When I printed my bags, I fed my paper bags in bottom first, lined up with the right side of the paper tray. I ran a couple of “testers” through my printer before I found the best position for printing my image on my particular printer. I would encourage you to do the same. (If you find that your printer and your paper bag are incompatible, simply print out your chosen image on brown or white paper and glue to the bag instead, see picture below… )

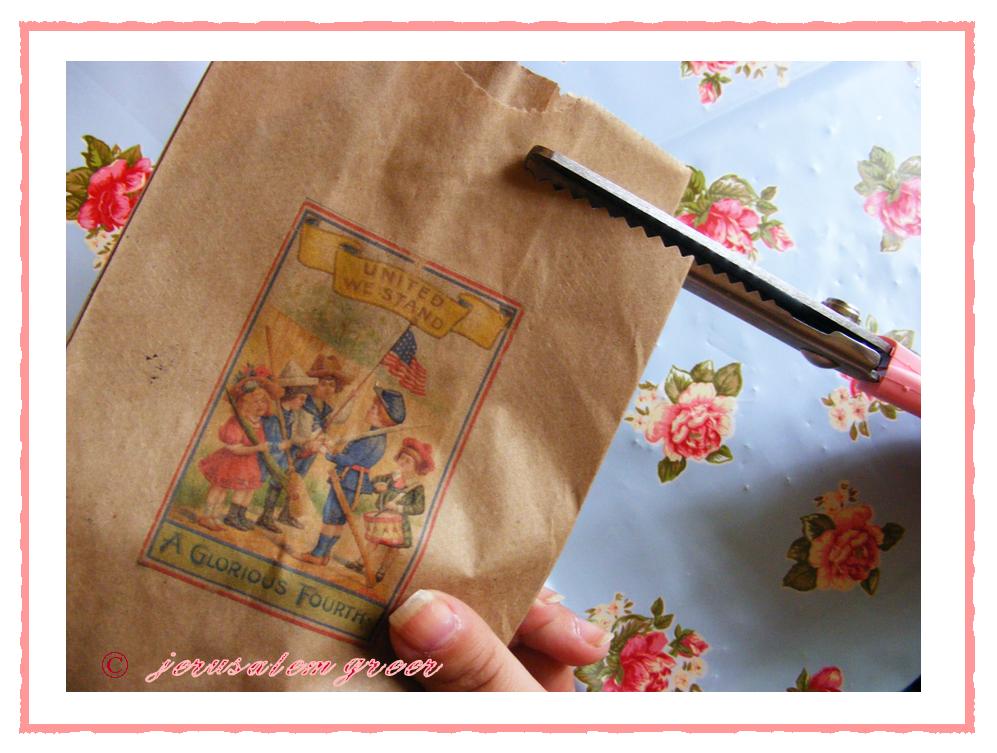
STEP 3
*Pinking.
After you have successfully printed (or pasted) your image onto your bag, trim the top of the bag using pinking sheers or other fun craft scissors. I trimmed mine down about 1 1/2 inch’s from the top of the bag. Depending on where your image prints on your bag you can trim as high or as low as you like.

STEP 4
*Hole Punching.
Punch one hole on either side of the bag, following the seam in the middle.
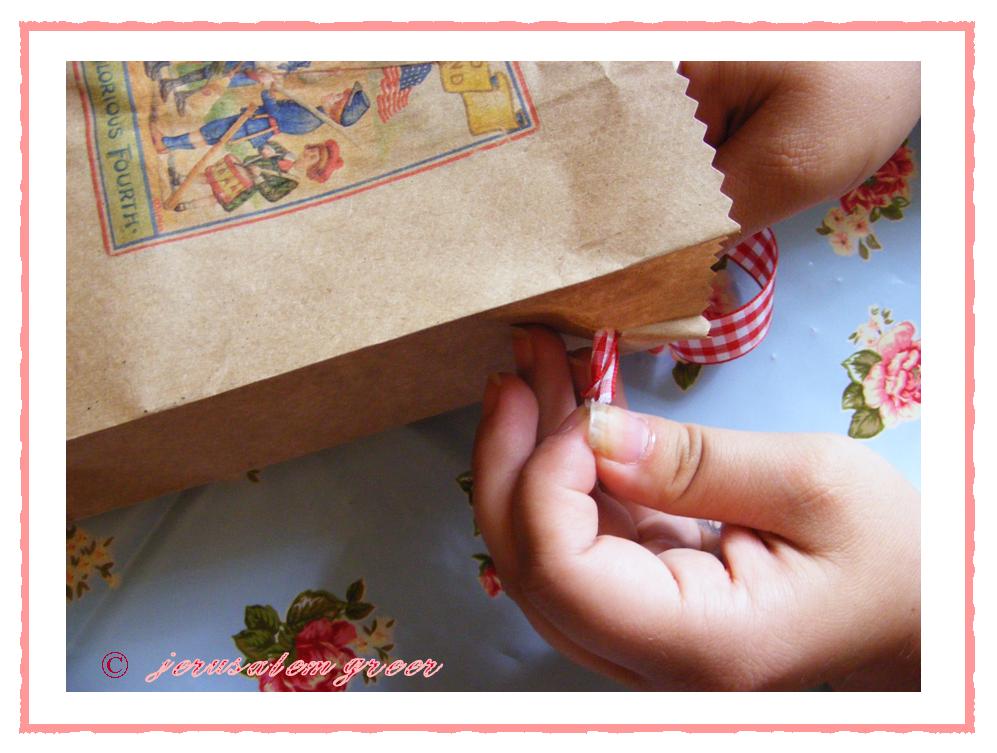
STEP 5
*All tied up.
Next choose your ribbon, and run it through both holes, knotting each end to secure the ribbon in place and allowing a “tail” to hang on the outside of your bag, on both sides.
You have now created a little “handle” for your brown bag surprise.
Tips: If you use a thicker width or heavier ribbon make sure you are careful not to tear your holes as your thread your ribbon through.
If you want to re-enforce your holes, you can use simple hole protectors, like those found in the office supply section of any discount store. WARNING of the OBVIOUS: If you put something heavier than a pebble in your bag DO NOT CARRY IT by the handle – the handles are more decorative than functionnal.

STEP 6
*Add your surprise.
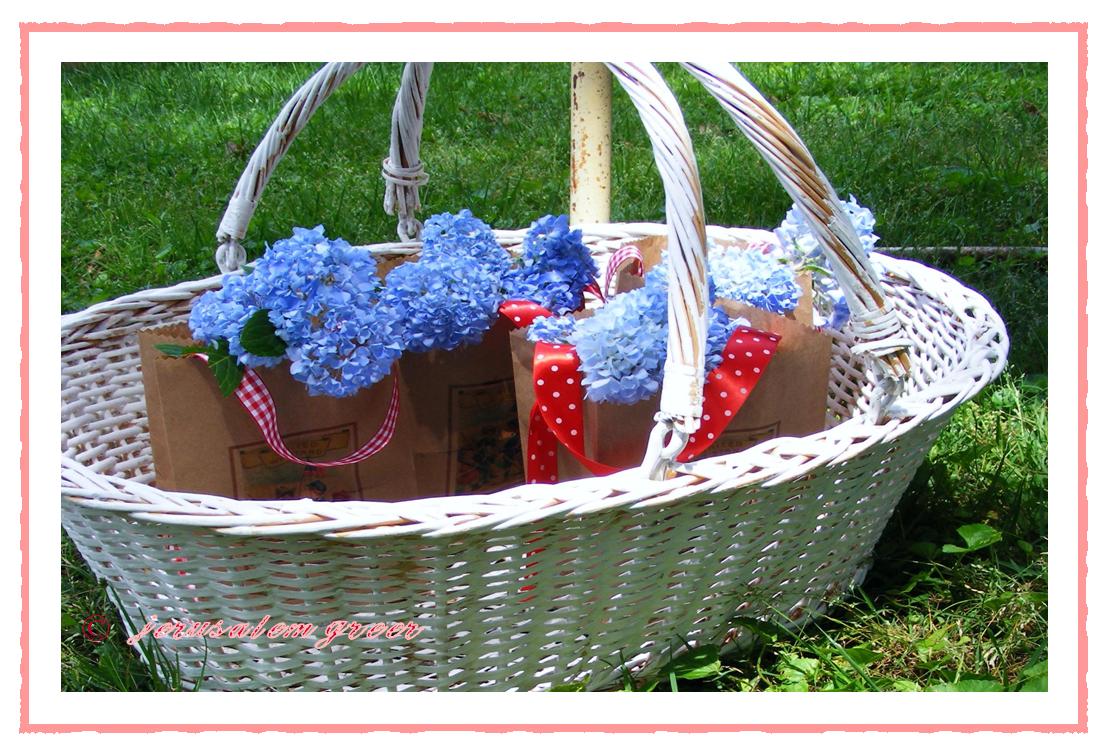
When I made my bags, I used them to deliver flowers to friends at a holiday picnic. I simply placed a plastic party cup inside half filled with water and then added fresh flowers. Voila! A cute, vintage inspired flower arrangement!

Other ways to fill your bags are these:
*You can use these great little bags as luminaries on tables or along a driveway, poolside, or sidewalk during your 4th of July party.
*You can fill them with holiday treats for any guest or children who might be visiting during summer vacation or for the holiday.
*They can hold helium filled balloons in patriotic colors, weighted down with a sand bag, and set on a table for a colorful centerpiece.
* You can pack picnic lunches in them for a poolside party, or a short road trip to visit family.
* Fill them with party favor gifts such as sparklers, small American flags, and noise makers for parade day.
*For a sit down event, hang your bags on the backs of chairs, adding “name tags” to each bag, creating an informal “place card.” Name tags are easily made by stamping, or hand lettering, each guest’ name on a small shipping label (these can be found at any office supply store.) Fill your bag with plastic cutlery, napkins, flags and any other treats you can think of to help each person feel welcome.
So there you go, a little crafty fodder for your holiday week.
Let me know if you give this old craft a try – I would love to hear how it goes!
PS- We bought paint to paint the outside of our house this coming weekend. Please pray for me. I hope I haven’t bitten off more than I can chew…


Great idea – love the pic with the blue hydrangea – so festive! Happy 4th!
Those are awesome! I didn't know you could do that!